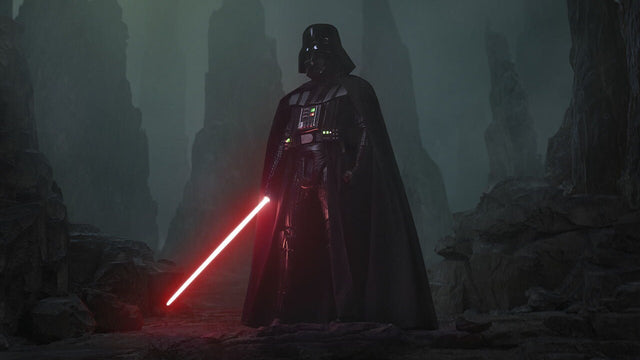
You know that your saber are more than just props—they're the pulsating heart of your cosplay persona. And guess what? With Neopixel technology, you have the power to command a wide range of colours at your fingertips.
So, you’ve got a Neopixel saber, but how can you change the colour? That’s what we’re going to talk about in this guide. We’re going to walk through it step-by-step so you can personalize your saber and create a more immersive experience.
Have questions for us? Come find us on Instagram or message us on our site! We’re more than happy to help!
Understanding Neopixel Technology
Before we get started, let’s understand how Neopixel sabers work. Neopixel LEDs are individually addressable RGB (Red, Green, Blue) LEDs that allow for precise control over each light element. Unlike traditional sabers with single-color LEDs, Neopixel sabers can produce a multitude of colors and effects, making them highly customizable (and absolutely epic-looking!)
Tools and Materials Needed
To change the color on your Neopixel saber, here’s what you’ll need:
- Neopixel saber with compatible controller (such as a Proffieboard or CFX)
- Computer with appropriate software installed (e.g., Arduino IDE for Proffieboard)
- USB cable for connecting the saber to your computer
- Access to color configuration files or code (varies depending on the saber’s controller)
Step-by-Step Guide
-
Connect Your saber to Your Computer: Using the USB cable, connect your Neopixel saber to your computer. Ensure that the appropriate drivers are installed and that your computer recognizes the device.
-
Access the Configuration Files or Code: Depending on the controller used in your saber, you’ll need to access the configuration files or code to change the color. For example, if you’re using a Proffieboard, you’ll need to open the Arduino IDE and load the configuration file for your saber.
-
Locate the Color Settings: Within the configuration files or code, locate the section that controls the color settings. This may be labeled as “blade settings” or something similar. Depending on the controller, you may have the option to specify a single color or create color profiles with multiple colors and effects.
-
Adjust the Color Values: Once you’ve located the color settings, you can begin adjusting the RGB values to achieve your desired color. Experiment with different combinations to create unique hues and effects. Some controllers may also offer presets or color palettes to choose from.
-
Upload the Changes: After you’ve customized the color settings to your liking, save the changes and upload them to your saber’s controller. This process may vary depending on the software and controller used. Follow the instructions provided by the manufacturer or community guides for your specific setup.
-
Test Your saber: Once the changes have been uploaded, disconnect your saber from the computer and power it on. Test the color changes to ensure they appear as intended. Make any additional adjustments as needed until you’re satisfied with the results.
-
You’re ready to turn heads and take on your next epic journey!
Conclusion
With Neopixel technology, changing the color of your saber has never been easier. By following this step-by-step guide, you can unleash your creativity and personalize your saber to reflect your unique style and personality. The ability to customize your saber’s color adds an extra layer of immersion and excitement to your experience.
More stories

Canadian Sabers: Here's everything you need to know